
Photo by Holly Webb
For this week’s task, we went through the post-production stages that come after taking an image. We uploaded our images from week five and edited them using Photoshop and Lightroom. Below are my before and after images:
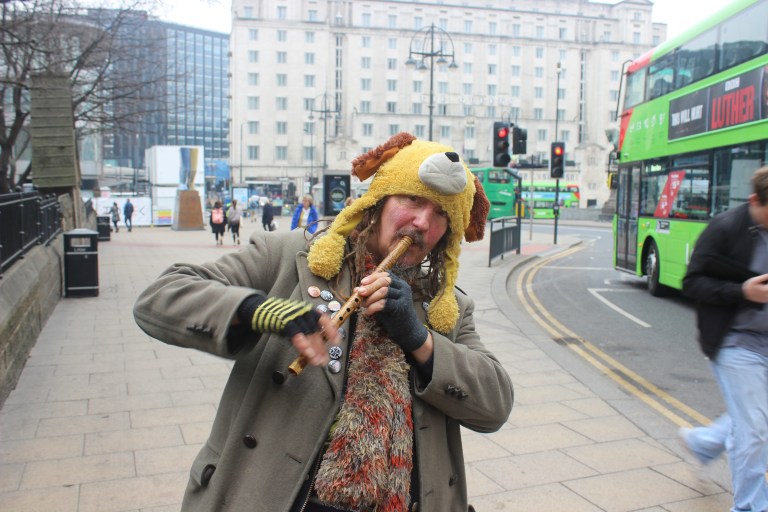
BEFORE:
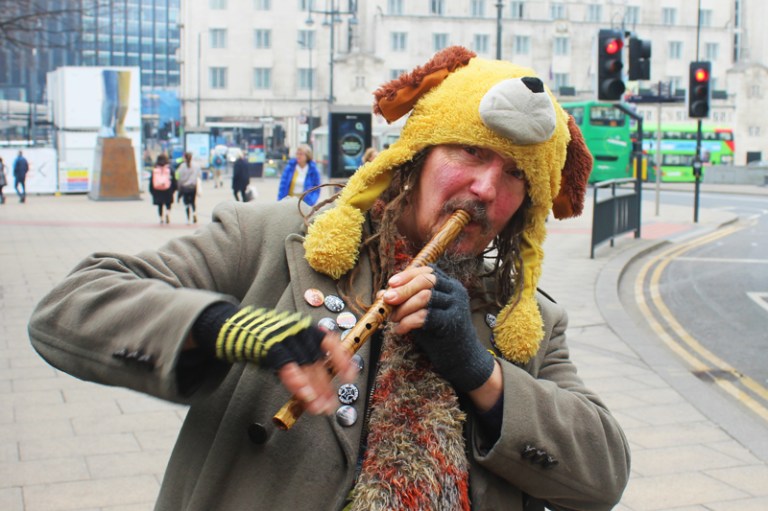
AFTER:
Changes I made to my image and why:
- cropped to make the subject of the image more prominent. It also removed the bus and the man on the right hand side who were quite bright and therefore also distracted the viewer from the main person
- increased saturation (although not too much as his face was quite red, and his hat very yellow!)
- increased contrast a bit, which made the details stand out more
- exposure and white balance were pretty much almost perfect, however did the small alterations to make it that tiny bit better
I do believe that the editing process has improved the photo and made it more impactful.
Being closer to the subjects face means that the viewer feels closer to him. You can see his eye contact clearly with the camera, and the effect of the lower f-stop is more obvious with the image being closer to him – he is clearly in focus and the background is clearly out of focus.
I enjoyed my first editing session in Photoshop, and am excited to continue practicing with the program before starting my actual project. I am feeling more confident with my photography skills, and so I am eager to start shooting in RAW and practise the editing process that comes with shooting in a RAW format.
To read my reflection on week six, click here.
To read this complete article for Leeds Hacks, click here.
