
Photo by Holly Webb
Today we started learning and practising the post-production process. These are my notes from this seminar:
The post-production process of photography is arguably as important as taking the picture itself.
While some people argue that photographers should ‘get it right first time’, the process of editing a picture can heavily alter – or add to – the emotion or theme the photographer is trying to show.
There is a post-production workflow that photographers follow:
1. Capture
composition
lighting
exposure
focus
![]()
2. Import
file naming
storage
database
![]()
3. Organise
selections
ratings
![]()
4. Develop
light & colour corrections
crop/straighten
tone & colour
sharpening
creative effects
![]()
5. Output
resizing (eg. 800px for online)
formatting for correct medium (online, magazine etc.)
file settings
delivery
Why workflow is important
It is mainly important for efficiency. Without workflow, you could be wasting time – or worse, risk losing photos.
Even if you’re only taking pictures for fun, the workflow is important. Even if it’s just storing them smartly, you can then manage the shots easily.
Ratings
When photographers and photojournalists take pictures, they usually end up with more than they need.
Before digital, they would print a contact sheet with all the images so they could look at all of them and decide which ones they wanted to develop fully.
Editing in Photoshop/Lightroom
The order you develop a photo depends on the original capture, however below are the main changes photographers make in post-production:
Photographers Tip:
Make the biggest changes first, then work your way to smaller details. In photo editing, this means first making global adjustments (those that apply to the entire image) before working on the local adjustments. And, earlier in the workflow, apply any changes relevant for large batches of images before moving on to fine tune individual photos.
- Crop and straighten. Since it changes the composition, cropping can be the most significant change you can make to a photograph. You should crop to a standard ratio – for example, online uses a ratio of 4:3, social sharing is usually 2:1 etc. Composition is also very important in cropping – rule of thirds suggests placing important parts of the image in these lines of sight. Other examples include golden triangle, golden spiral and golden rectangle etc.
- Correct distortion. Most camera lenses introduce various amounts of distortion to a picture; some more than others.
- Exposure and tones. The tonal range of an image refers to the various levels of brightness of each pixel, from pure white to solid black. Tone is independent from color. Simply setting the white and black points can have a huge impact on the overall appearance of an image, so you should normally do this before moving on to color.
- White balance and color. White balance plays the biggest role in the color of a photo. If the photo has a strong color cast — for example, an indoor photo captured using outdoor white balance settings — you should fix it before addressing tone. After setting white balance, consider making other color adjustments, most notably saturation and vibrance, which affect how pure and vivid the colors appear.
- Apply local adjustments. These are edits you make only to small areas of the picture. Examples are selective color adjustments.
- Apply noise reduction. Noise appears in digital images as soft colored blobs or grainy speckles. Most images can be improved with varying amounts of noise reduction. Photos captured at high ISO, made in the dark, or ones that are significantly underexposed, will need more aggressive noise reduction. Zoom in for larger previews when adjusting noise reduction and sharpening.
- Apply sharpening. Sharpening is all about contrast. The appearance of sharpness in a digital image is based on the relative lightness or darkness of neighboring pixels along the edges of lines within the picture. More contrast along the edges equals more sharpness.
- Perform retouching. Many pictures contain elements that you want to remove altogether. In some cases, these are artifacts — undesirable results of digital processing or camera characteristics including noise, chromatic aberration, fringing and sensor dust spots. Other times, there’s something ugly in the frame, like a telephone pole sticking out of your mother-in-law’s head.
In photoshop, all these changes are in the form of adjustment layers – meaning you can get rid of any of your changes at any point.
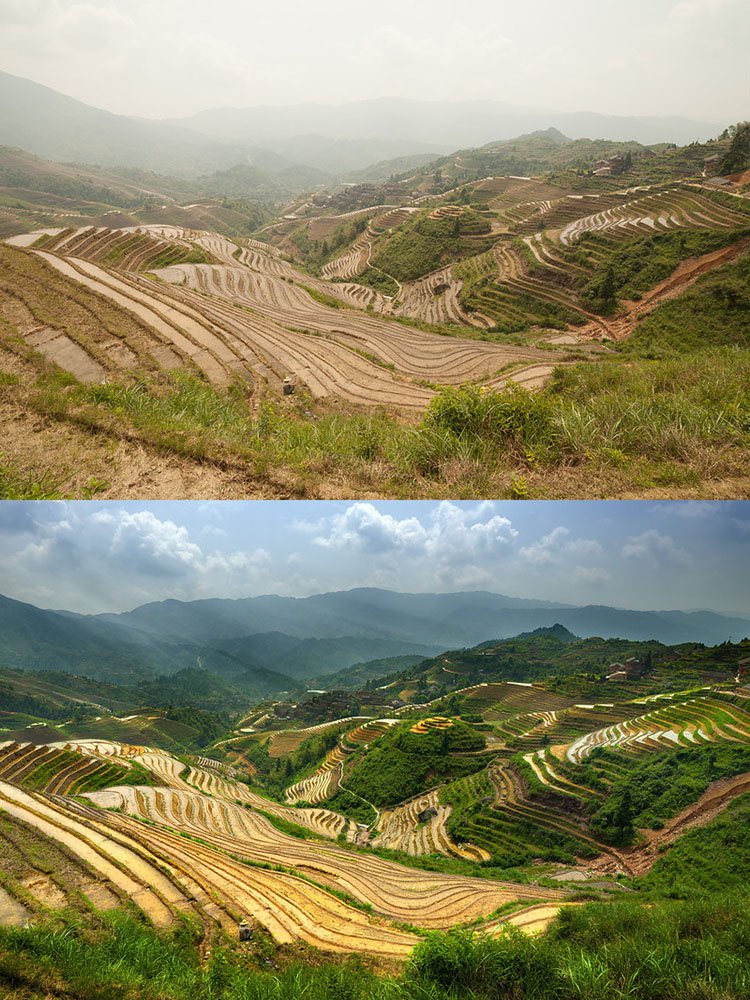
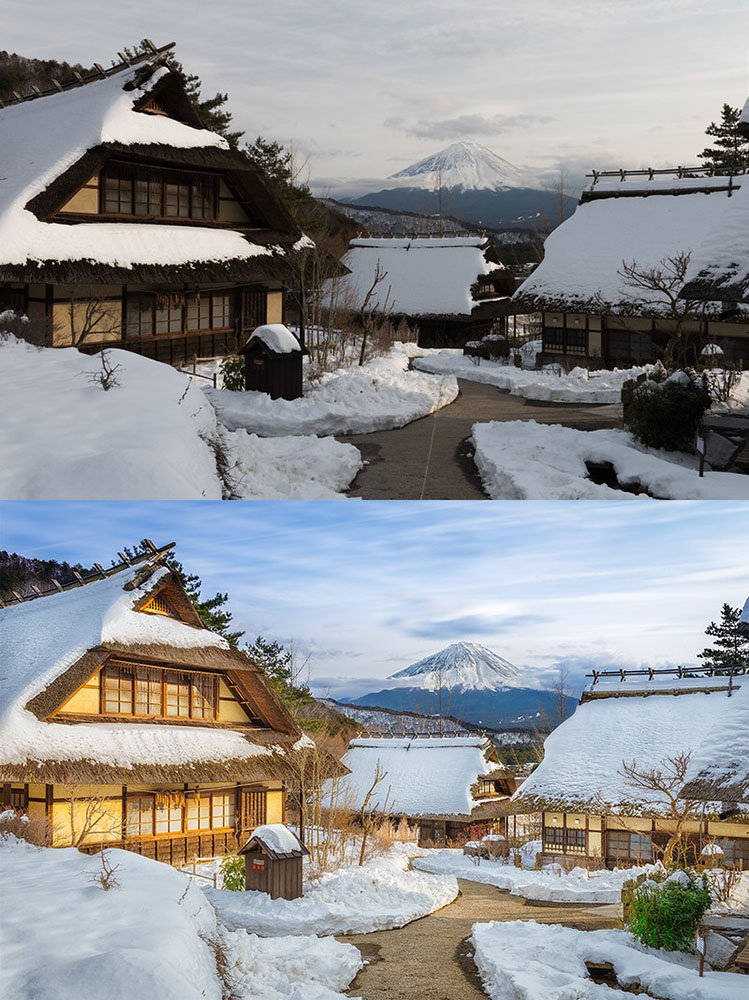
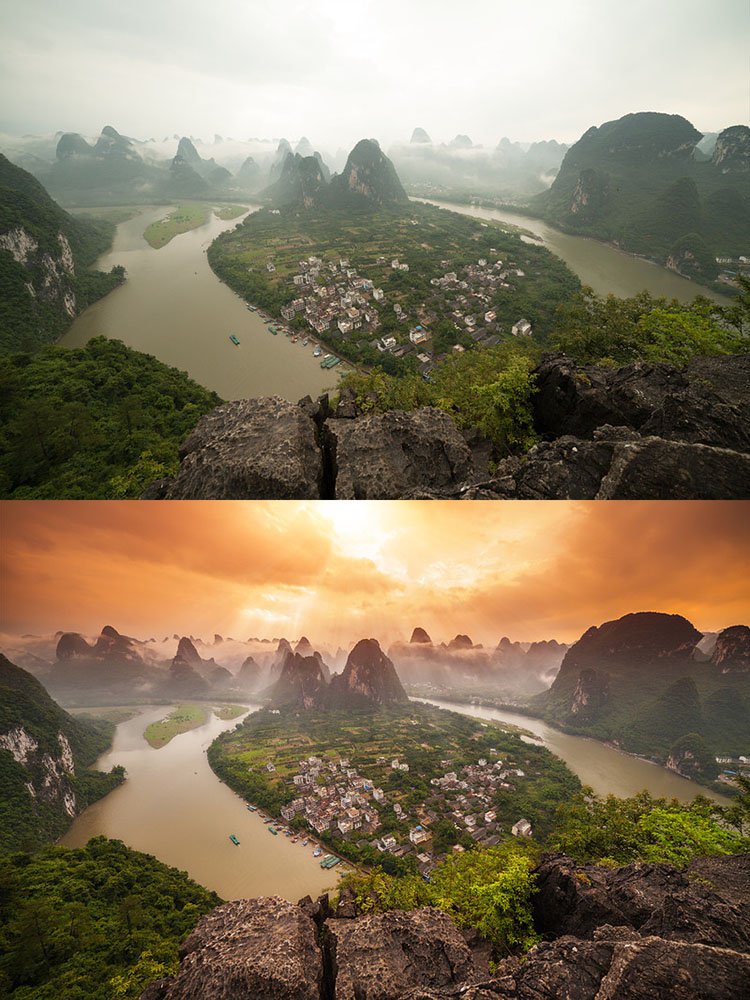
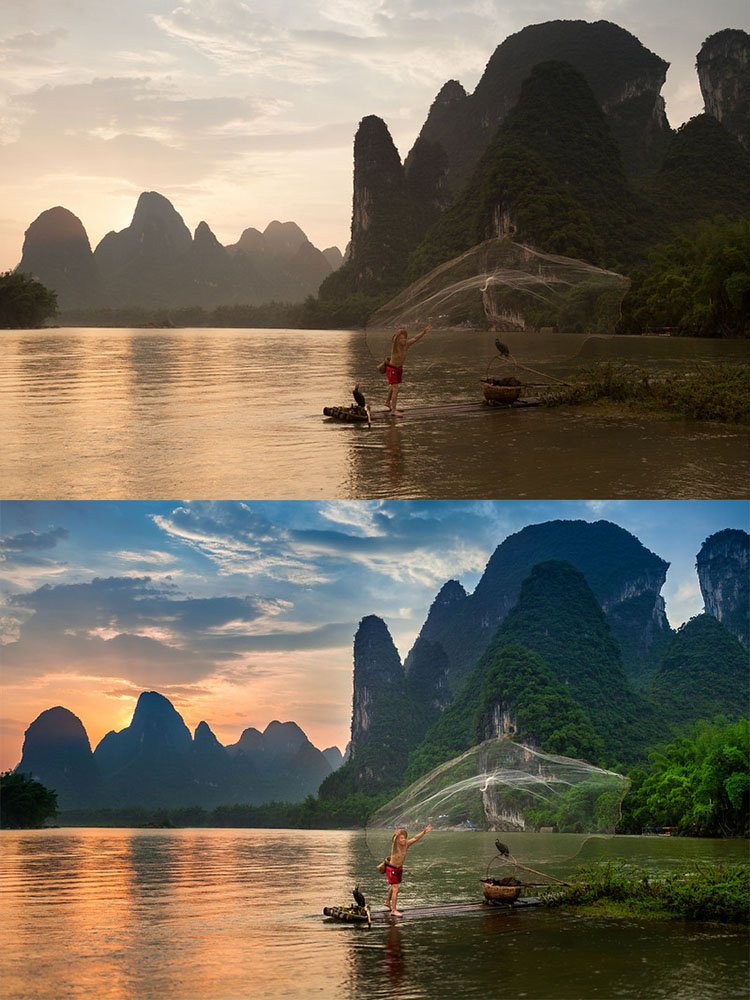
Below are some examples I found online of the post-production process on images:
My Project
Considering post-production will be essential when doing my own project. Not only will I make sure to take lots of photos to pick the best ones, but I can edit my photos in a way that will be most effective to show my story.
I have already developed a few ideas of post-production techniques I might include in my project:
- I could follow Mihaela Noroc‘s theme of high saturation on all my images, or at least increasing the saturation a lot on colourful images
- on the other hand, decreasing saturation can be useful in portraying emotion in photos
- whatever I do to the images, if I do the same things in post-production then it can create cohesiveness and make the photos match
Aims for this week:
- start playing around more with my camera, taking photos (in RAW and JPEG) and editing them to practise the post-production process more before starting my project.
UPDATE: To see my practice shots and edits, click here.

One thought on “Post-production Process”