
Photo by Holly Webb
This past week I decided to practice shooting in both JPEG and RAW, as well as the post-production editing process with both formats. I already completed some independent research on the post-production process (read here), so I was excited to start experimenting in Photoshop after I had learnt more about the different changes you can make to a picture.
I had also looked at examples of before and after shots, which made me realise the extent to which you can change an image after you have taken it. In my project, I will aim to get the shots as well-crafted as possible when shooting, however it’s comforting to know that I can aid my projects story in post-production too. This is why I decided to start experimenting with different images in Photoshop.
These are some of my before and after shots:
JPEG images:
In this image, I realised after that the white balance was off due to the photo being taken inside. Not only was this photo taken late at night, but the room I took the photo there were a number of large tungsten bulbs that caused many of my practice shots to have a yellow tinge. This is why I decided to edit this photo, to see the extent I could correct this on a JPEG image.
As well as the white balance, I also slightly improved the saturation and contrast etc.
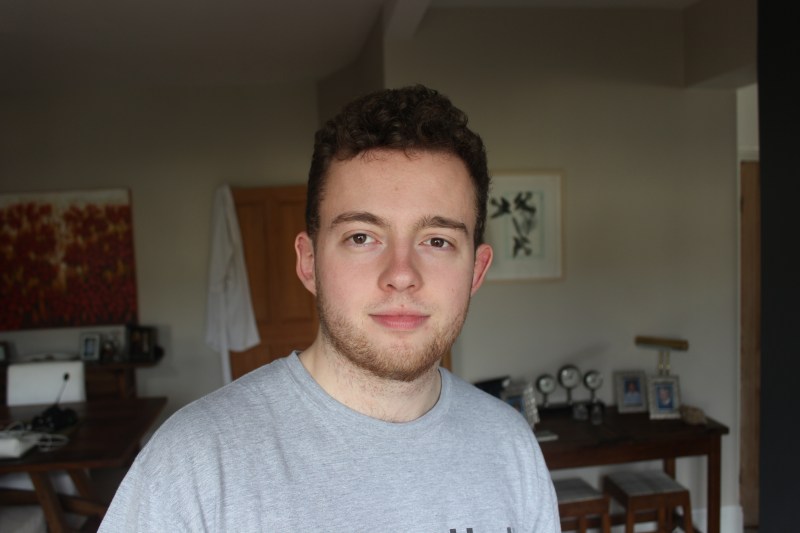
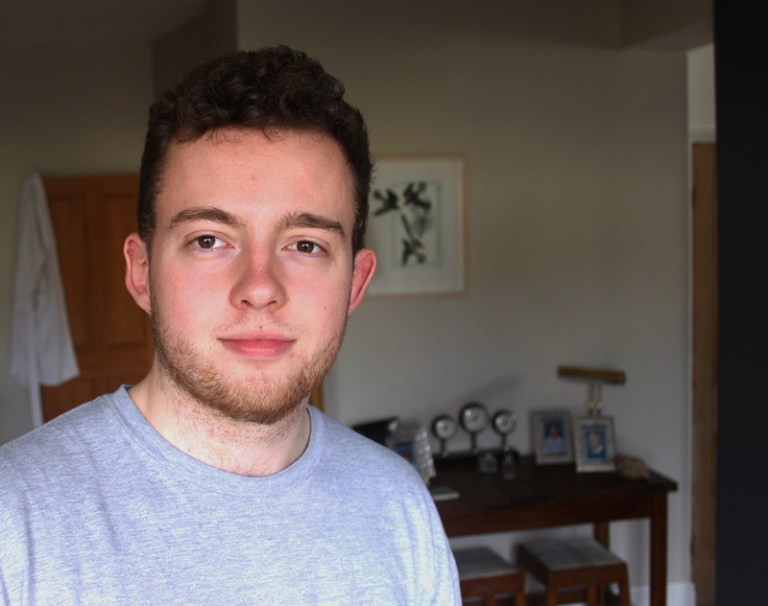
After this, I decided to edit a JPEG that I thought was shot with correct lighting and exposure. This was to see whether even the best photos can be improved in post-production.
I slightly tweaked the contrast, saturation and exposure etc. and even with the slightest changes, even images that are shot in good lighting with good exposure, you can still see the improvements:
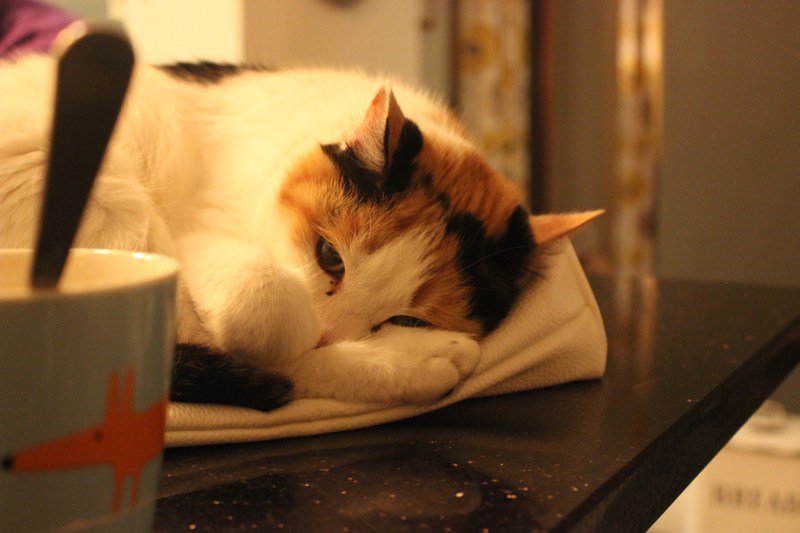
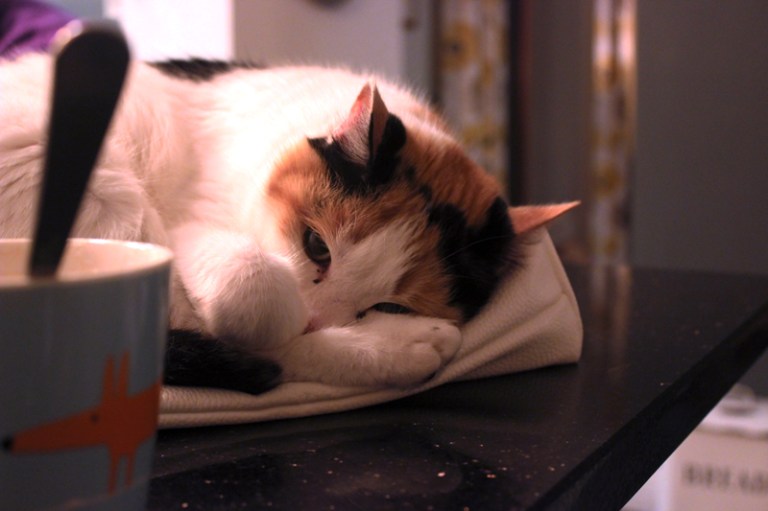
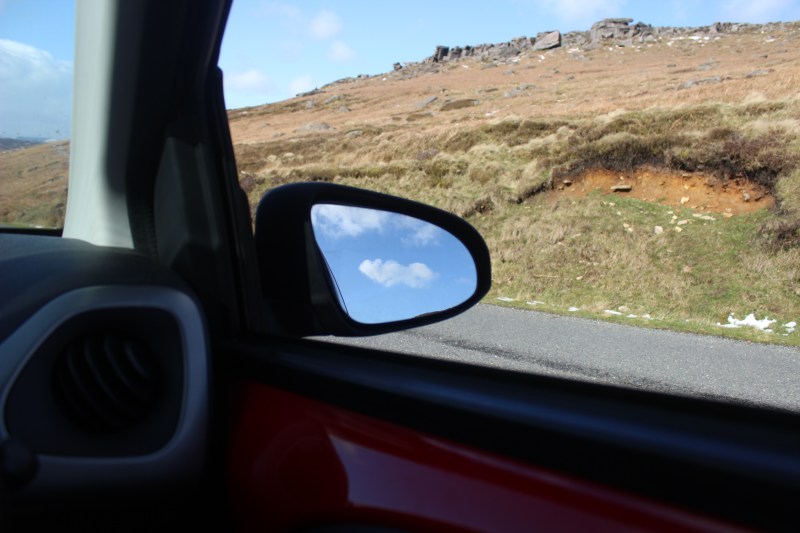
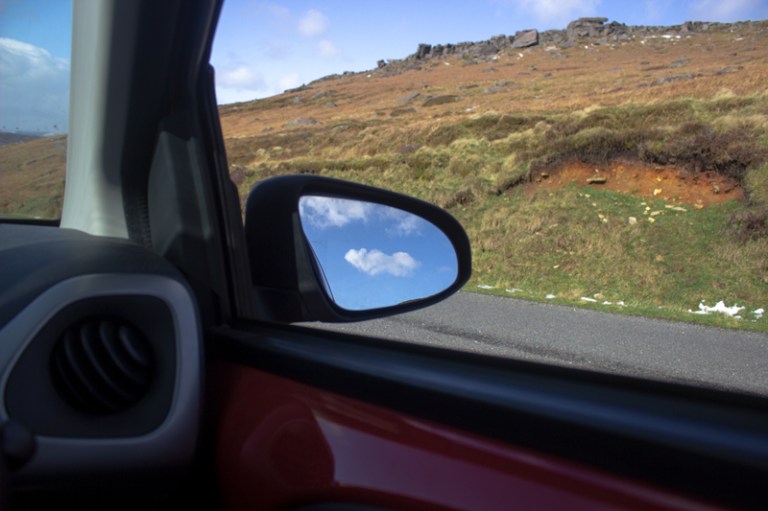
The last JPEG I decided to edit was one that I also took in RAW format. This was to see the differences I could make and how the format of the image enables me to make more or less changes in post-production.
I only slightly changed the white balance as it wasn’t too bad, and then upped the saturation, contract and the orange hues in the grass:
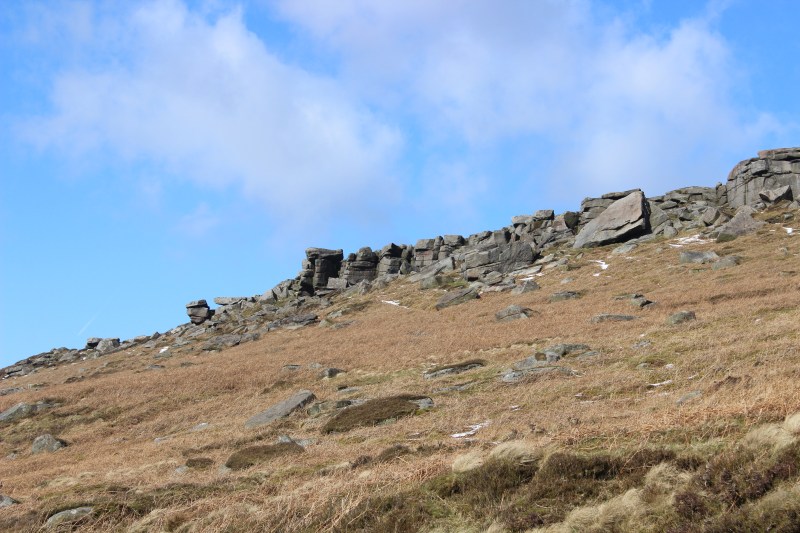
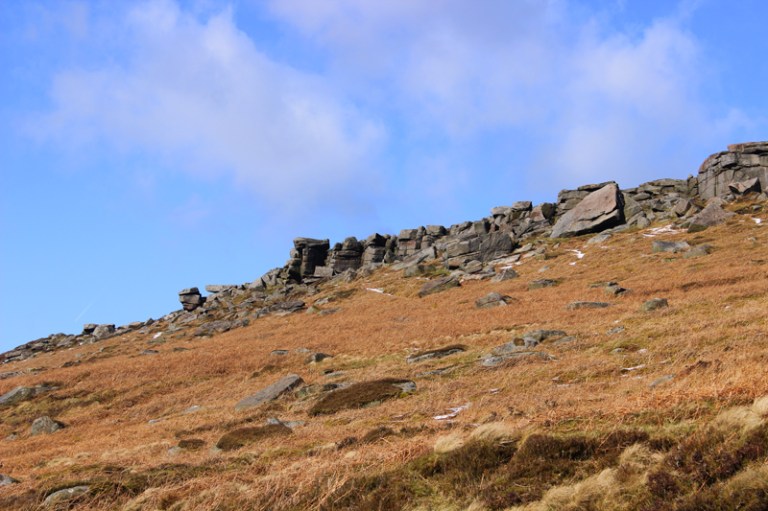
RAW images:
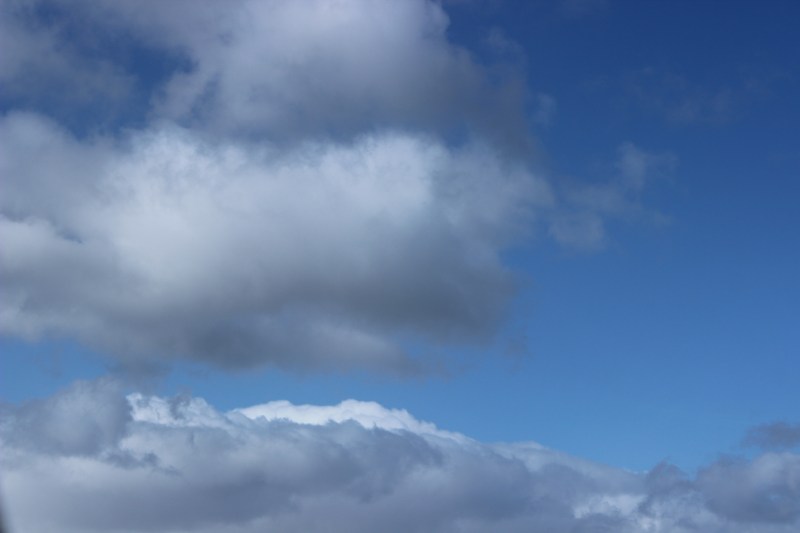
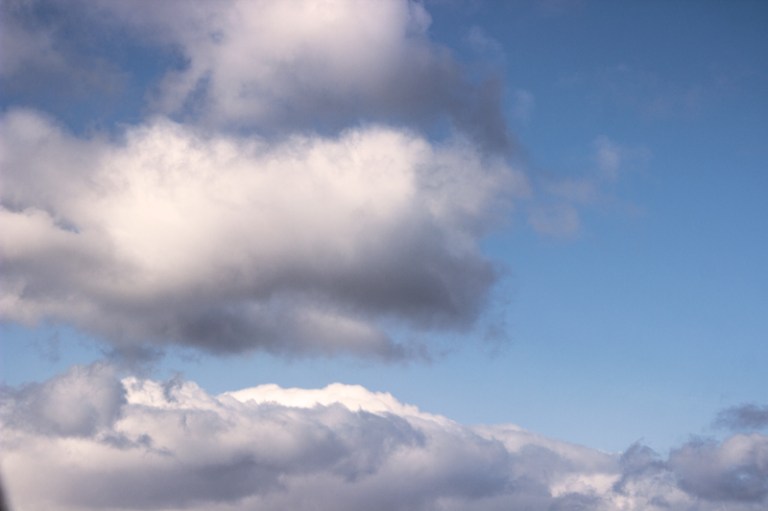
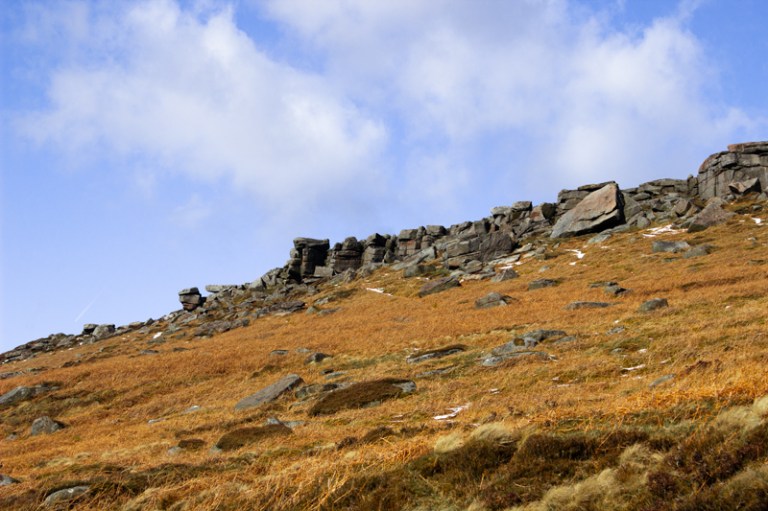
The first RAW image I decided to edit was one of my favourites from the few I took. I found that I could dramatically change the image in post-production with this RAW format.
I changed a lot to the image, essentially using this as a tester for my first time editing a RAW image. The difference in the colours is very noticeable, however the biggest difference I found was in the overexposure of the clouds in the background. I can see why shooting in RAW is especially good for sunsets and landscape shots etc. for this reason:
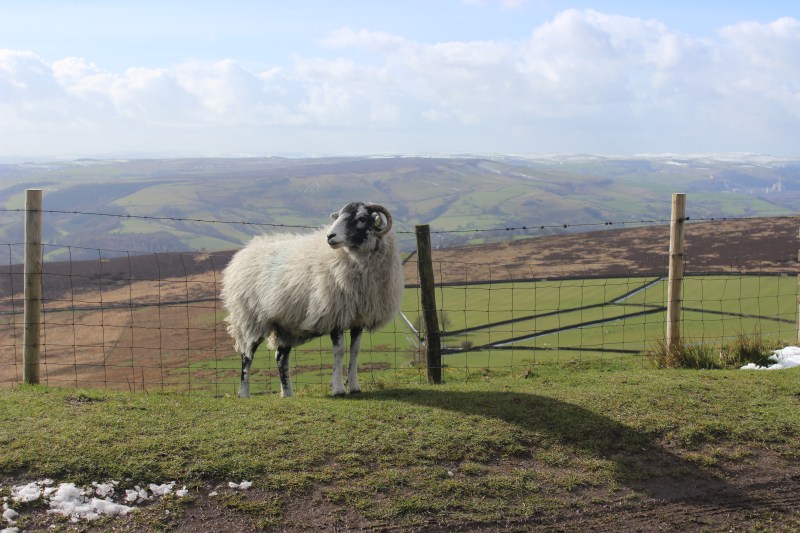
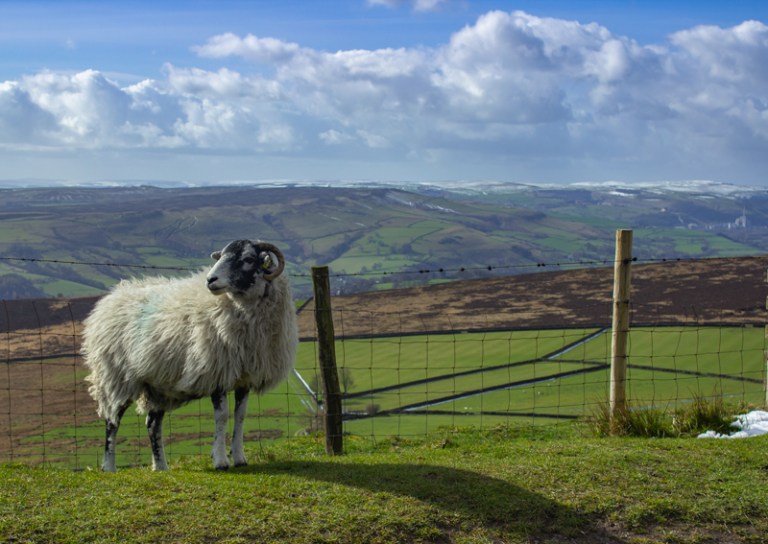
These are some of my other edits on RAW images:
I enjoyed experimenting in Photoshop with both JPEG and RAW images. I’m feeling more confident with the post-production process after my research and practice, I just hope that I make good choices when it comes to my project.
I think I will just have to take as many images as possible – in both JPEG and RAW formats – and spend time choosing the more impactful photos before even thinking about photoshop.
Aims for this week:
- go over ideas for project and possibly think through one more idea and make a post about it
- finalise idea for project
- start on project pitch

One thought on “Post-production practice”